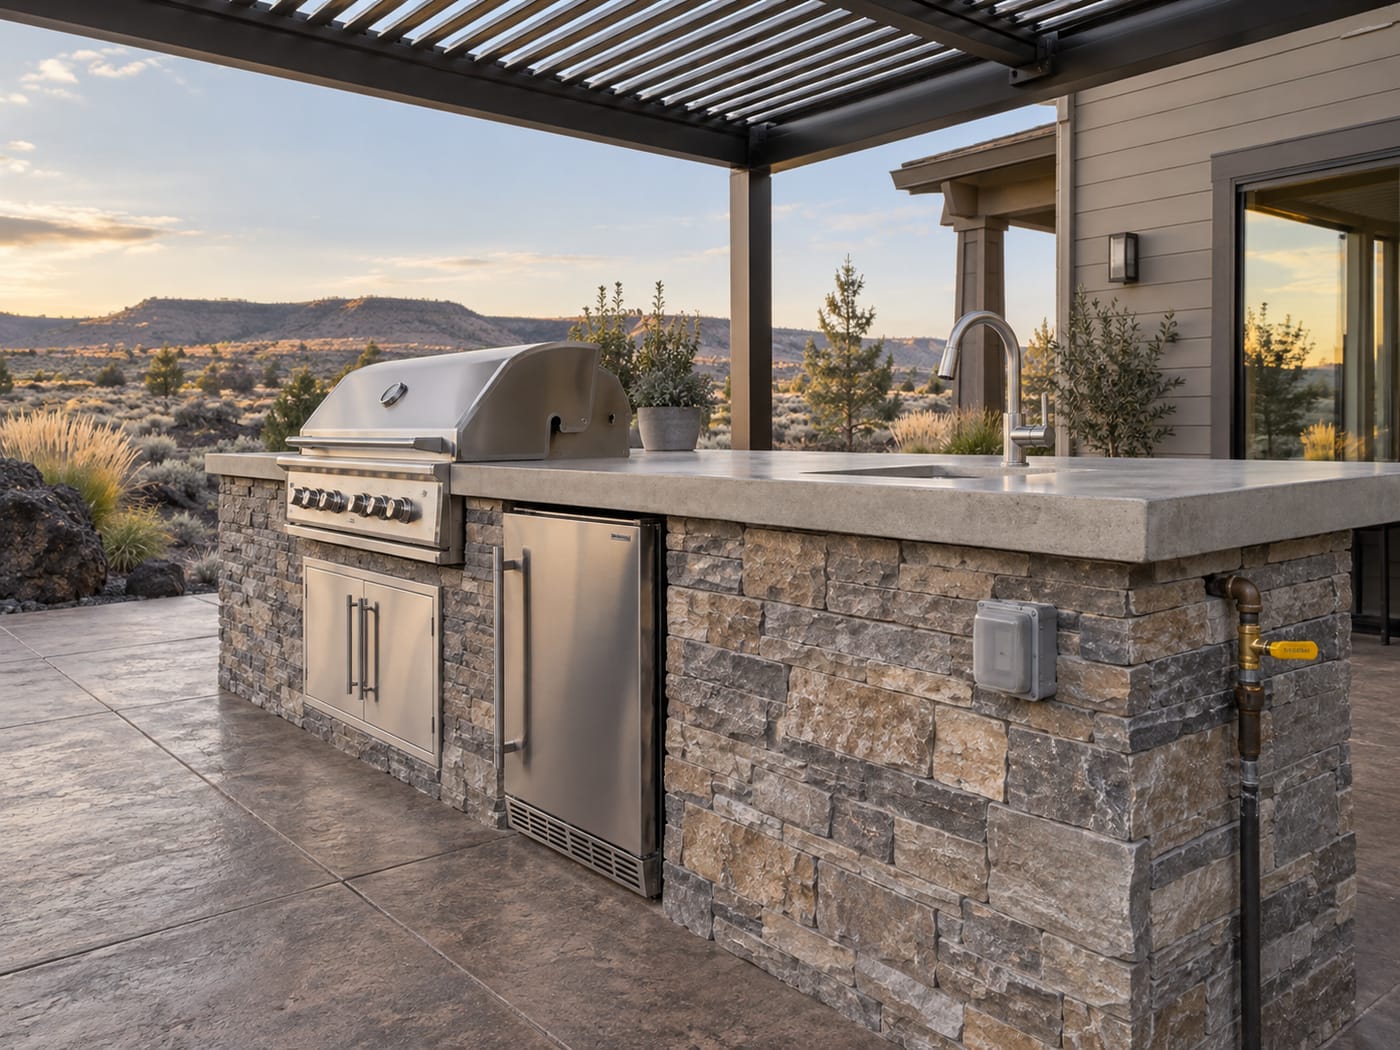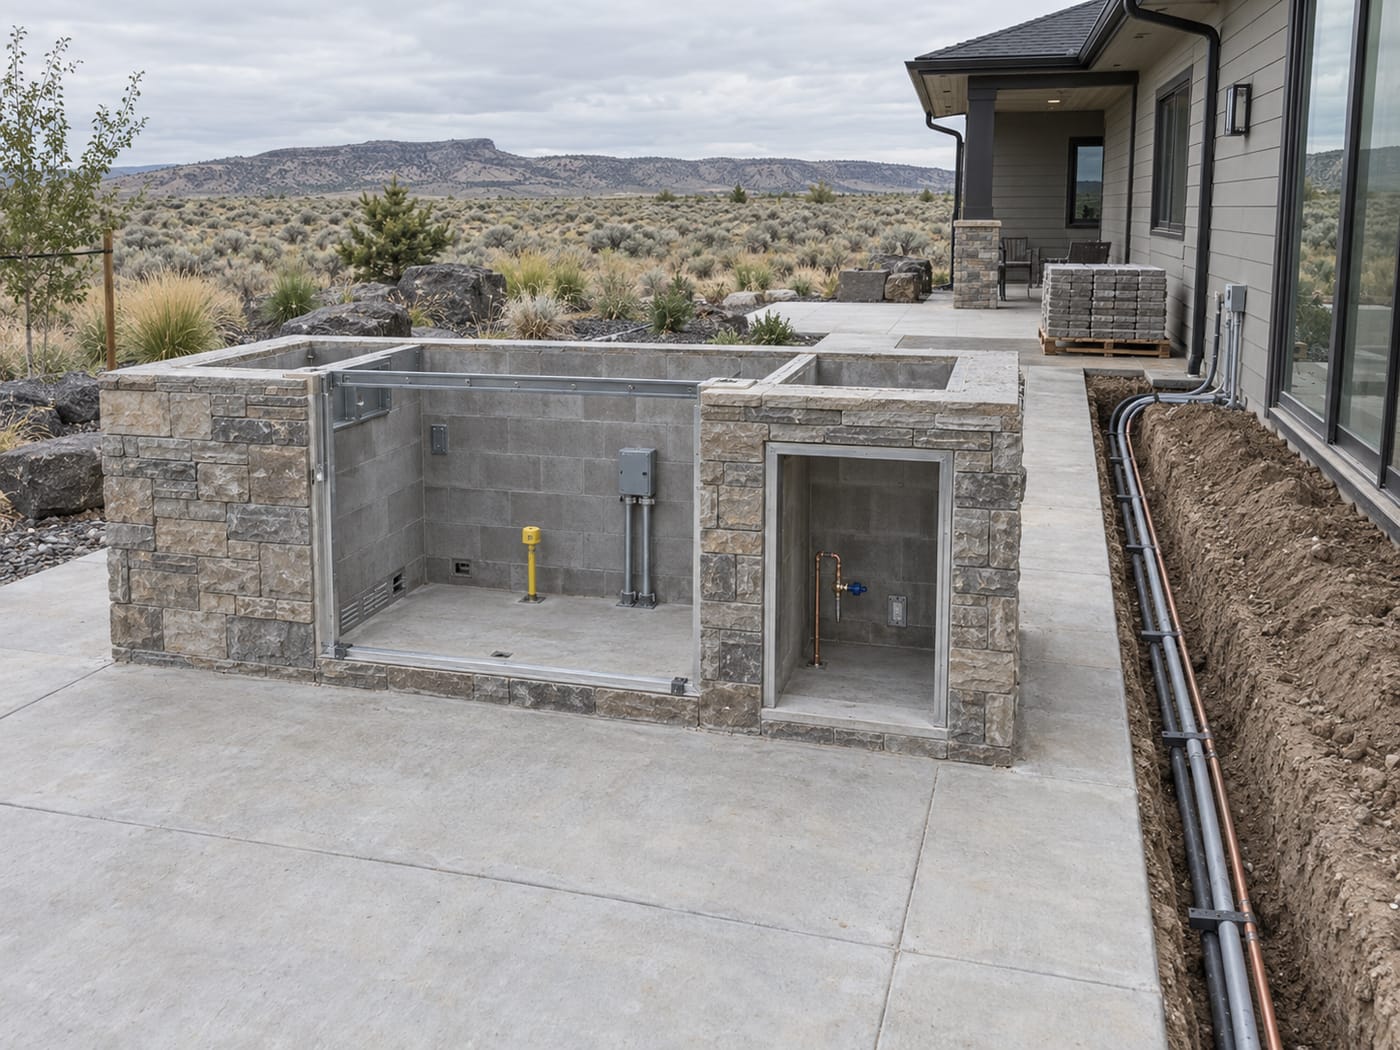
Outdoor Kitchen Layouts for a Covered Patio in Idaho
Support posts decide the layout before appliances do, and a solid ceiling over a grill changes the ventilation rules. Four layouts, the clearances that keep them usable, and where the water goes.
TL;DR
- The posts decide the layout. Support posts are fixed obstacles. Lay out the kitchen around them, or plan both together from the start.
- A solid ceiling over a grill changes the rules. Under a structure with a solid ceiling, a vent hood is generally required. In open air, it usually isn't.
- That makes a louvered roof a special case. Open louvers behave like open air. Closed louvers behave like a ceiling. The design has to account for both.
- Carbon monoxide is the real risk, not smoke stains. A grill produces CO that pools under a cover, and it accumulates invisibly.
- Rough hood sizing: around 100 CFM per 10,000 BTU of grill capacity, then add roughly half again for outdoor conditions.
- Give yourself 42 to 48 inches of aisle between opposing runs, about 24 inches of counter per seated guest, and real landing space beside the grill.
- Know where the roof drains before you place the island, because the cover's gutters and posts are doing water management you don't want to fight.
Building an outdoor kitchen under a covered patio is the right call in the Magic Valley. The cover protects the appliances, extends the season, and turns cooking outside into something you do in April and October rather than only in July.
It also adds constraints that an open-air kitchen never has to think about. Posts sit where they sit. A roof overhead changes how combustion products behave. And the structure above is already managing water in ways that affect where things can go.
Here is how to lay one out so the cover works with the kitchen instead of against it.
Start with the posts, not the appliances
Most people design an outdoor kitchen by picking a grill and drawing a counter around it. Under a cover, that's backwards.
Support posts are the one element you cannot move later. They carry the structure, their spacing is set by the span the roof has to cross, and their footings are poured below the 24-inch frost depth that both the City of Twin Falls and Twin Falls County require. Once they're in, they define the room.
A post landing mid-counter is the classic mistake. So is a post that sits exactly where you'd stand to work the grill, or one that narrows the walkway behind the cook to something people have to turn sideways for.
The fix is simple when it happens early and expensive when it doesn't: design the cover and the kitchen at the same time. If the structure hasn't been built yet, post placement can often be adjusted a foot or two to open up a clean counter run. If the cover already exists, measure the post spacing first and let that set the layout, rather than discovering the conflict when the cabinets arrive.
This is also an argument for having one company handle both. When the pergola and the kitchen come from different contractors, nobody owns the conflict between them.
The four layouts, and when each one works under a cover
The straight run. One continuous counter along a single line, usually against the back wall of the house or along one edge of the covered area. It's the simplest to build, the easiest to run utilities to since everything is on one line, and the friendliest to post spacing because you can position the run between posts rather than through them. It's the right answer for a narrow covered patio, and it's usually the most economical.
The tradeoff is limited counter space and no natural separation between cooking and gathering.
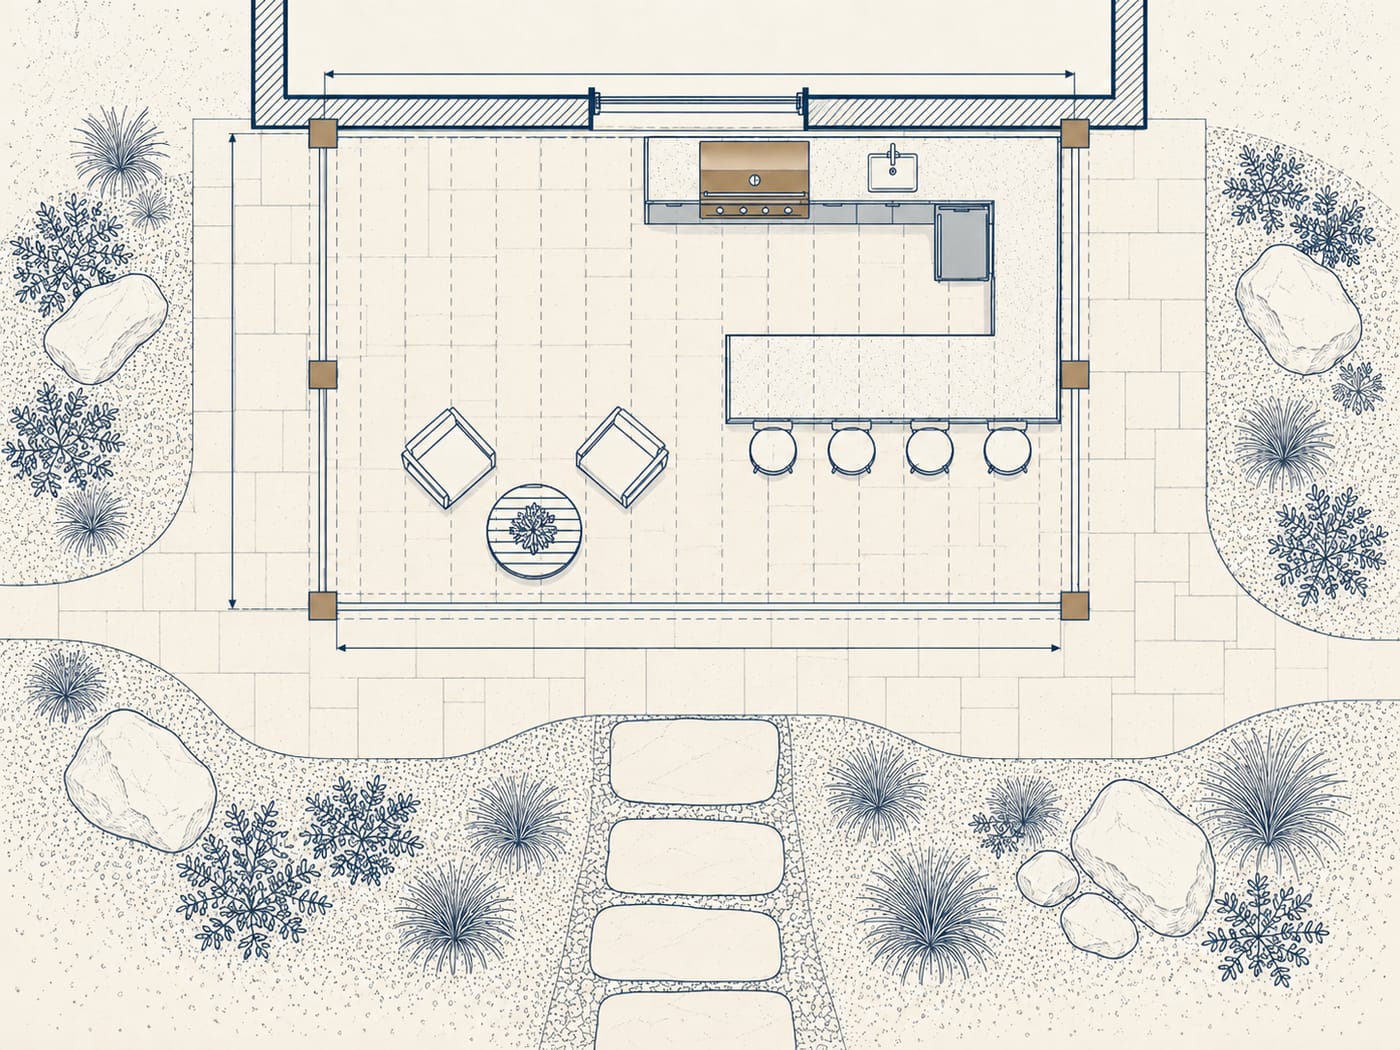
The L-shape. Two runs meeting at a corner. This is the most common shape for a reason: it gives you a cooking leg and a prep or serving leg, it creates a natural work zone, and the corner does useful work rather than wasting space. It fits well when the covered area is roughly square and there's a post at or near the corner you can build around.
Watch the inside corner, which is awkward for cabinet access, and watch that the second leg doesn't cut off the path from the back door.
The U-shape. Three runs surrounding the cook. Maximum counter space, everything within reach, and strong separation between the working zone and where guests sit. It needs a genuinely large covered footprint, and it needs the interior aisle to stay wide enough to work in, which is where the post positions matter most.
The island plus perimeter. A run along one edge plus a freestanding island, often with seating on the outer face. This is the layout that handles entertaining best, because guests sit at the island facing the cook without standing in the work zone. It needs the most square footage, and under a cover it needs careful thought about where the island sits relative to posts and to where people walk.
For scale, a small outdoor kitchen generally runs 40 to 80 square feet, a medium one 80 to 150, and a large one past 150.
The ventilation question a cover creates
This is the part that separates a covered outdoor kitchen from an open-air one, and it's the section worth reading twice.
In open air, a grill's combustion products rise and disperse. Under a structure with a solid ceiling, they don't. Industry guidance is direct about it: a grill installed under a covered pavilion, lanai, porch, or any other structure with a solid ceiling generally needs a ventilation hood above it. Local construction and fire codes may require one over any grill beneath a combustible overhead structure regardless.
The risk is carbon monoxide, not smoke. A gas grill produces CO, and under a cover it pools rather than dissipating. It accumulates invisibly, which is exactly what makes it dangerous, and the more enclosed the space gets, the more it becomes a life-safety issue rather than a comfort one. Grease-laden moisture is the secondary problem, and it's what stains and degrades the underside of your structure over time.
Rough sizing. A common starting point is roughly 100 CFM per 10,000 BTU of total grill capacity, increased by about half again for outdoor conditions where wind and open sides work against capture. In practice that puts a 30-inch grill around 1,200 CFM, a 36-inch grill somewhere in the 1,500 to 1,800 range, and a 48-inch grill or a grill with a side burner at 2,000 CFM and up. An undersized hood doesn't just underperform, it recirculates grease-laden air instead of removing it.
Clearance. A general floor for unprotected overhead structure is around five feet above the cooking surface, and that number typically assumes a non-combustible hood directly above the grill. Seven to ten feet is more comfortable and does more for smoke staining. Combustible overhead material changes the math entirely, and many appliance manufacturers prohibit installation under unprotected combustible structures at any height. Your appliance's own instructions are the baseline, and local code often requires non-combustible material directly above the unit.
One thing worth knowing: a couple of feet of air gap between the grill's own lid and the structure above is not ventilation. It's not enough to move the vapor plume.
The louvered roof is a special case
Here's where it gets specific to what we build, and it's a question most homeowners never think to ask.
A motorized louvered pergola has two states. Open, the louvers behave much like open air, and combustion products rise straight through. Closed, the system seals, which is the entire selling point when it's raining on your dinner. But a sealed roof over a running grill is much closer to the solid ceiling the ventilation guidance is written about.
That doesn't mean you can't have both. It means the kitchen and the roof need to be designed together, with the closed-louver condition thought through rather than assumed away, and with clear guidance on operating them together. If you're adding drop screens or side panels, that pushes the space further toward enclosed, and the question gets sharper.
A builder who sells you a sealed roof and a built-in grill without raising this has skipped a step. We cover the same tension on the fire side in our guide on putting a fire feature under a pergola.
The dimensions that keep it usable
A few numbers do most of the work.
Aisle width. Leave roughly 42 to 48 inches between opposing counter runs or between a run and an island. Less than that and two people can't pass. Accessible layouts may want closer to 60 inches. Under a cover, check this dimension against post positions, not just cabinet faces.
Counter depth. Base cabinets are commonly built around 24 inches deep, though some built-in appliances want 27 to 30.
Landing space. Counter on both sides of the grill, for the tray going on and the platter coming off. This is the single most common regret in outdoor kitchens, and it costs almost nothing to plan for.
Seating. About 24 inches of counter width per seated guest. For knee clearance, figure around 15 inches at a standard 36-inch counter and about 12 inches at a 42-inch bar height.
Traffic. Keep the main path from the back door to the seating area out of the cooking zone. Under a cover this matters more than it does in an open yard, because the covered footprint is finite and everyone funnels through it.
Where the water goes
Your cover is already managing water, and the kitchen has to live with that.
On a quality louvered system, rain runs off the closed louvers into integrated gutters and drains down through the support posts. That means the posts are doing double duty as structure and as downspouts, which is another reason their positions aren't negotiable once set.
Find out where your cover discharges before you place the island. Water exiting at grade next to a seating area or into the path from the back door is a nuisance in July and an ice patch in January.
If the kitchen sits at the edge of the covered footprint, also think about what happens to the counter and appliances during a driving rain from that direction. A cover isn't a wall.
Permits, briefly
Inside Twin Falls city limits, all electrical, plumbing, mechanical and gas work requires a permit with no size threshold, and the city inspects those trades itself. A powered vent hood is mechanical work, so a hood adds a permit on top of the gas and electrical. Outside city limits, the structure goes through Twin Falls County while gas, plumbing and electrical route to the state.
The full breakdown is in our guide to running gas, water and power to an outdoor kitchen.
The order to decide things in
- Where do the posts go, or where are they already?
- Which layout fits that footprint without putting a post mid-counter or mid-aisle?
- What's overhead when the grill is running, and what ventilation does that require?
- Where does the cover drain, and does that conflict with seating or traffic?
- Then pick appliances.
Answer those in that order and the kitchen works. Answer them backwards and something gets rebuilt.
Let's lay it out together
The cover and the kitchen are one project, not two. A free design consultation covers your footprint, your post placement, the ventilation your setup needs, and what your address requires for permits.
Book a Free Design Consultation or call (208) 731-1729
Frequently asked questions
Can I put a built-in grill under a covered patio? Usually yes, with the right clearances and ventilation. The key factors are what the ceiling is made of, how high it sits above the cooking surface, and how open the space is. Under a solid ceiling, a vent hood is generally required. Follow your appliance's installation instructions and confirm with your building department, since local code often has specific requirements for the material directly above a grill.
Do I need a vent hood for an outdoor kitchen? If the grill sits under a structure with a solid ceiling, generally yes. In fully open air, generally no. The gray area is a partially open structure like a louvered roof, which behaves differently depending on whether the louvers are open or closed, and that is worth settling during design rather than after.
How much CFM does an outdoor vent hood need? A common starting point is about 100 CFM per 10,000 BTU of total grill output, increased by roughly half again for outdoor conditions. That puts a typical 30-inch grill near 1,200 CFM and a 48-inch grill or grill-plus-side-burner at 2,000 or more. Size it to your actual appliance, and don't undersize, since a weak hood recirculates grease-laden air instead of clearing it.
How high should the roof be above a grill? Around five feet above the cooking surface is often cited as a floor for unprotected structure, and that typically assumes a non-combustible hood above the grill. Seven to ten feet is more comfortable and reduces staining. Combustible ceilings change this substantially, and some manufacturers prohibit installation under unprotected combustible material at any height. Your appliance's instructions govern.
Can I close my louvered roof while the grill is running? Ask before you assume. Closing the louvers turns a well-ventilated space into something much closer to a solid ceiling, which is the condition ventilation guidance is written for. Plan this with your builder at design time rather than working it out on a rainy evening.
What layout works best for a small covered patio? A straight run along one edge. It's the easiest to fit between posts, the simplest to run utilities to, and it leaves the most open floor for seating. An L-shape is the next step up when the footprint is closer to square.
How much space do I need between the island and the counter? Roughly 42 to 48 inches, measured to the nearest obstruction rather than to the cabinet face. Under a cover, check that dimension against the posts, since a post can narrow an aisle that looks fine on paper.
Should the kitchen go against the house or out under the middle of the cover? Against the house is usually cheaper, because utilities have a shorter run, and it keeps the open part of the covered area free for seating. Out in the middle can be the better choice when you want seating around the island or you're working with a view. Utility distance is the main cost driver either way.
This article is general guidance for the Twin Falls area, not a code ruling. Clearance and ventilation requirements vary by appliance, BTU output, structure and jurisdiction. Always follow your appliance's installation instructions, and confirm requirements with City Building Safety at (208) 735-7238, the Twin Falls Fire Marshal at (208) 735-7232, or Twin Falls County Community Development Services at (208) 734-9490 before you build.